Overview
The installation of the MDS Collivery plugin does everything for you, once installed the plugin will only need you to enter your username and password but by default our demo account is used so that you may test your new plugin before going live. This plugin gives your Virtuemart the ability to get prices from MDS Collivery based on the dimensions and weight of the products added to your client’s cart. Once your client has checked out you will then have the ability to modify the particulars of the delivery, once you accept the plugin then passes the delivery onto MDS Collivery. Once the order has been passed you will still have access to the delivery where you can track and display parcel images and proof of delivery. Your clients too have the ability to track the delivery but not to display parcel images or proof of delivery.
Installation Instructions
Prerequisites
Prerequisites before installing Collivery Extension:
- Joomla Version: 3.x +
- Virtuemart Version: 3.x +
- PHP Version: 7.4
- Hosting service with 'SoapClient' - Enabled
* Disclaimer
Make sure before installing this plugin that you make a full SQL database backup and a full backup of all your files. If for some reason something goes wrong you will need this backup to get your website back to where it was before.
Installation
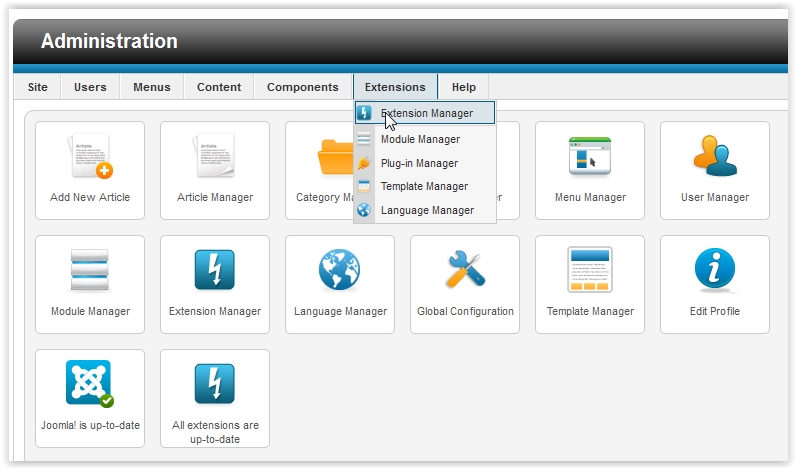
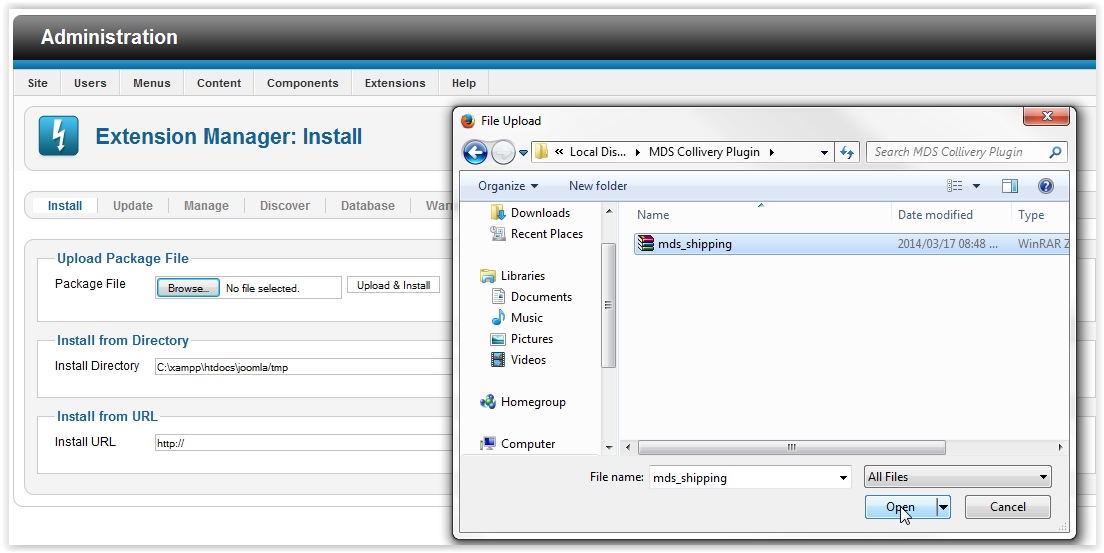
Log in to your Administration section via http://yoursite.co.za/administrator/index.php and once you are logged in hold your mouse over Extensions link at the top of your page and then select extension manager from the drop down list.
Then you will need to select your plugin file by clicking browse under Upload Package File and then navigating to your plugin file.
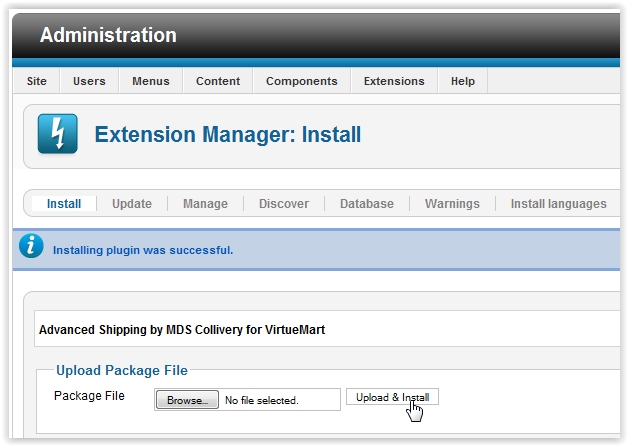
Once the plugin is selected, click Upload & Install. That’s it, MDS Collivery plugin is installed and ready for action.
Configuration
We have some configuration settings to go through, the first being insurance on your deliveries, if you include insurance this setting will be passed onto the API so your clients receive an accurate price from the API. The other settings are your account username and password for your MDS Collivery account. By default the plugin uses the demo account, you will need to update to your account settings! We have also included an update button there, this update function updates all towns, suburbs, location types and your shipping methods.
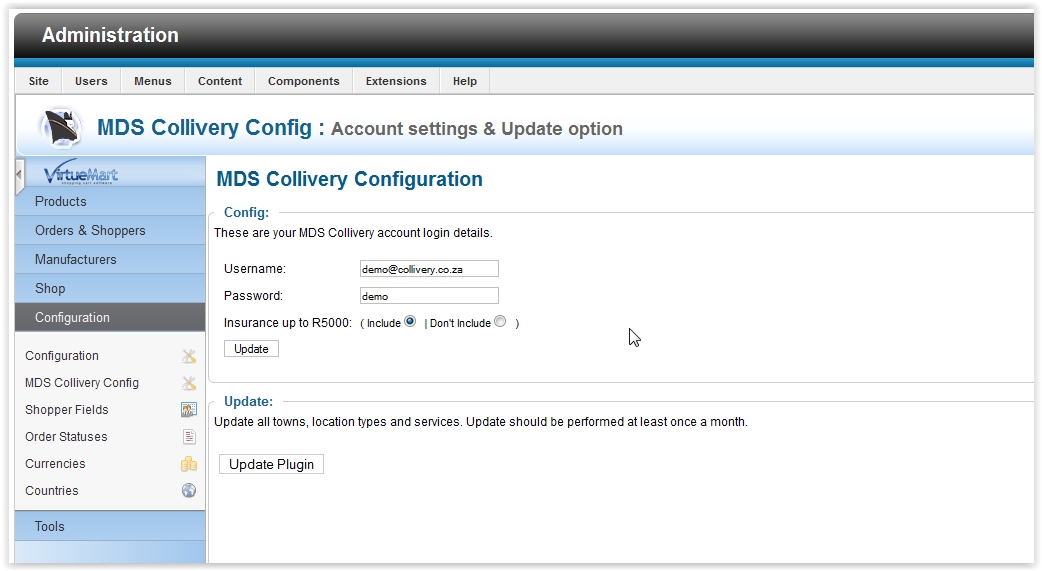
When you change your account from demo to your personal account you will need to clean all cache otherwise you will still have the cache from the demo account. To clean the cache you will need to click on clean cache on the top right hand side of the page.

The other settings you need to be aware of is shipping methods, you can configure which delivery services you want to use as well as the mark-up for each service. Under the Shop menu click on Shipment Methods, there you will see a list of all the delivery services the plugin has added.
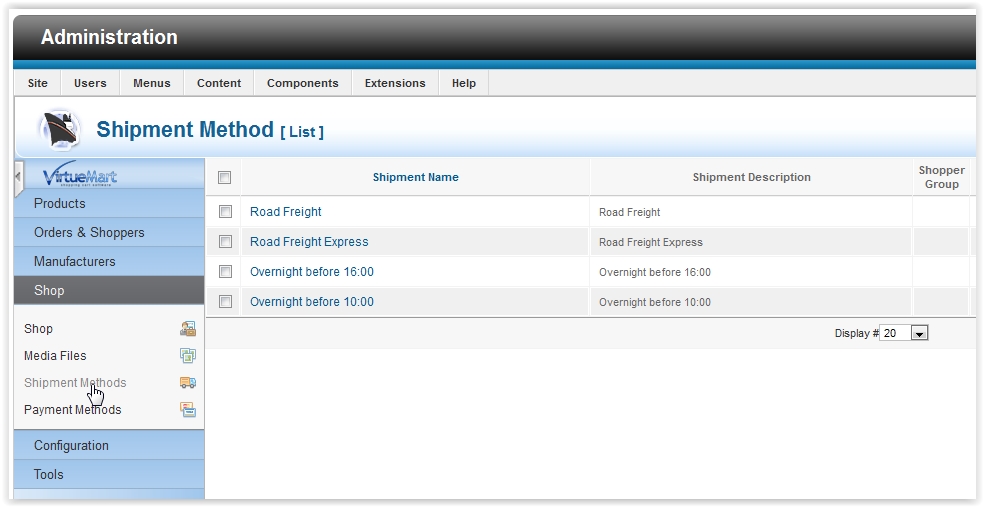
If you select on one of the service’s you will have the ability to edit the descriptions, name and if you want your clients to use that service. Please note: Do not change Sef Alias as this is the unique id that the API uses to determine which service you using.
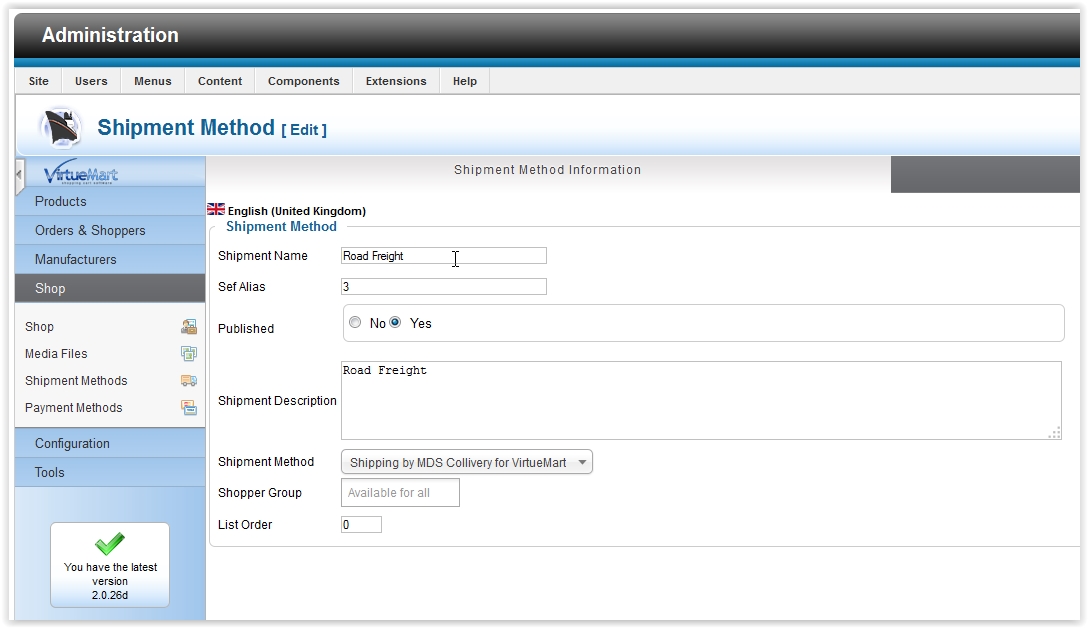
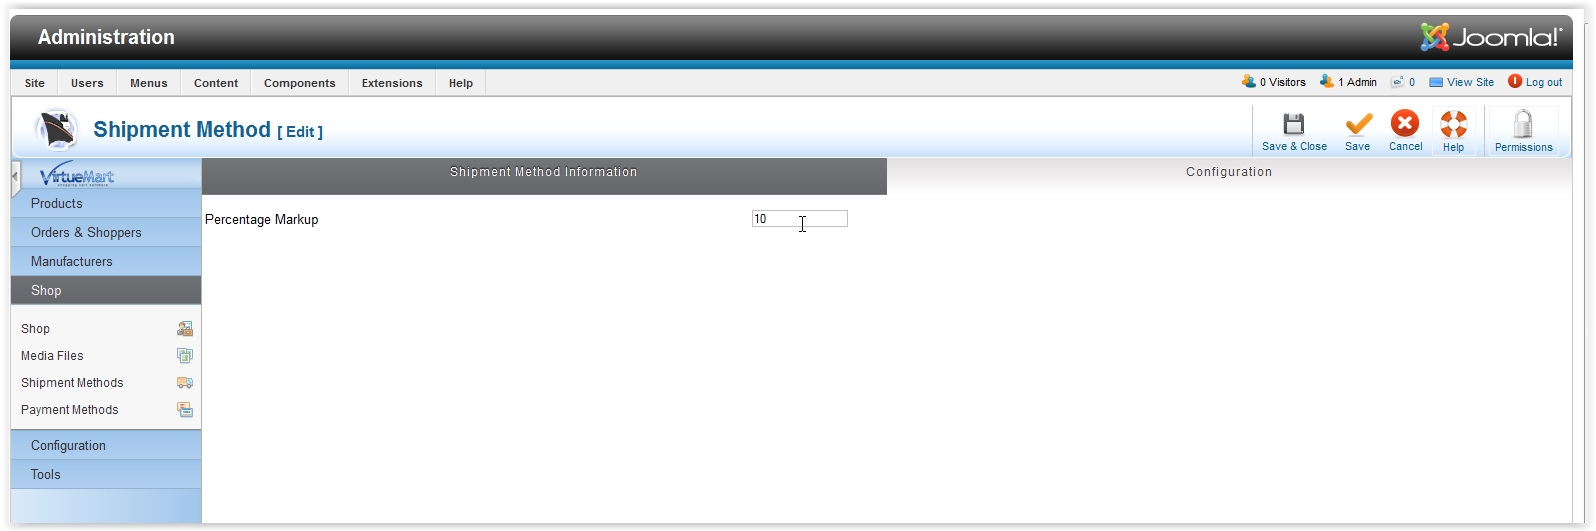
Additionally there is mark-up setting for each of the service's, this is just an input for the percentage you would like added to the price returned by the API for the checkout. By default there is a 10% markup.
We have one last configuration setting to go through. Our Client tracking page needs to be placed on your website, by default this is placed Main Menu but we can move this around. You will need to select Menus -> Menu Manager.
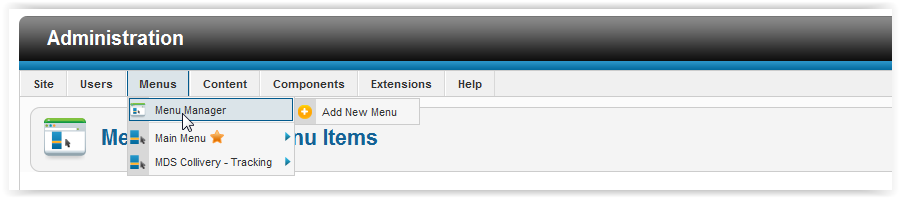
Then find and select MDS Tracking. Once you have opened MDS Tracking you can then edit where the link is meant to be displayed. our fist important setting is your Menu Item Type this should be set to External URL, the other major setting is Link this should be set to the following: index.php?option=com_virtuemart&view=mds&task=tracking and the rest is up to you.
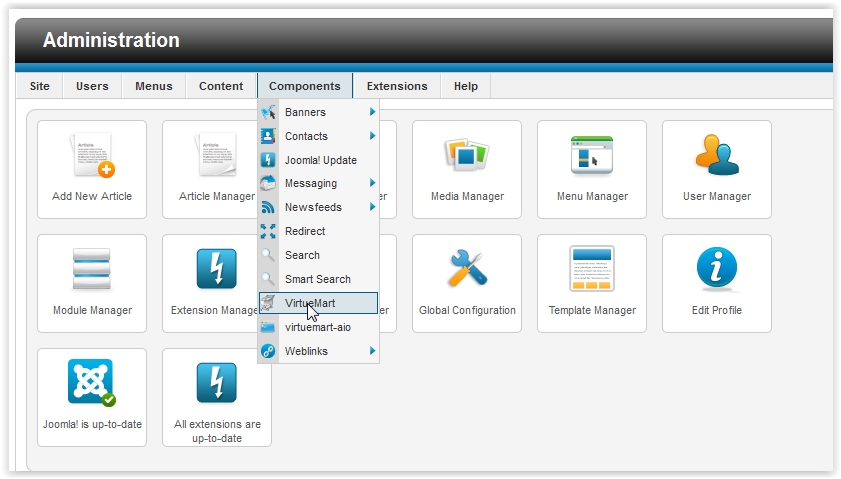
Another setting we need to go through in order for the MDS Collivery plugin to function correctly is the jQuery version for Virtuemart. This setting is located in your admin section under Components -> Virtuemart. Once you are there select Configeration -> Configeration and then select Template Tab.
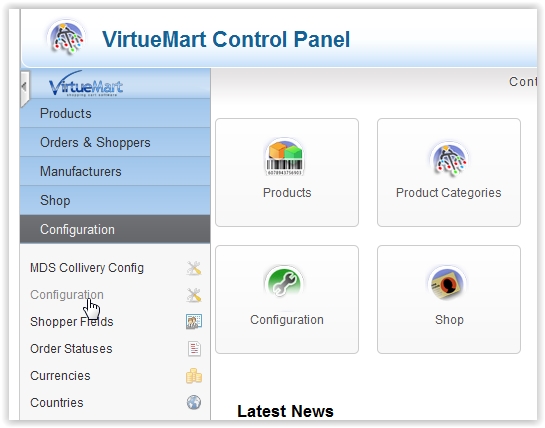
On the page locate "Use external google jQuery library" and make sure that box is unchecked.
Our final configuration is for the shopper fields that your client sees when checking out. These fields are your client’s personal details, we have added some new fields and we need to change the order of them so they align correctly in your checkout pages.
To do this you need to be in your admin section and select Components -> Virtuemart. Once you are in Virtuemart admin section you will need to select Configeration -> Shopper Fields. Once you are there we need to group the following fields together: virtuemart_country_id, virtuemart_state_id, mds_suburb_id, mds_location_type, mds_building_details. You can do this by using the little up and down arrows under the Reorder colum. We normally align them under address_2 but this is your site so move them around as you wish.
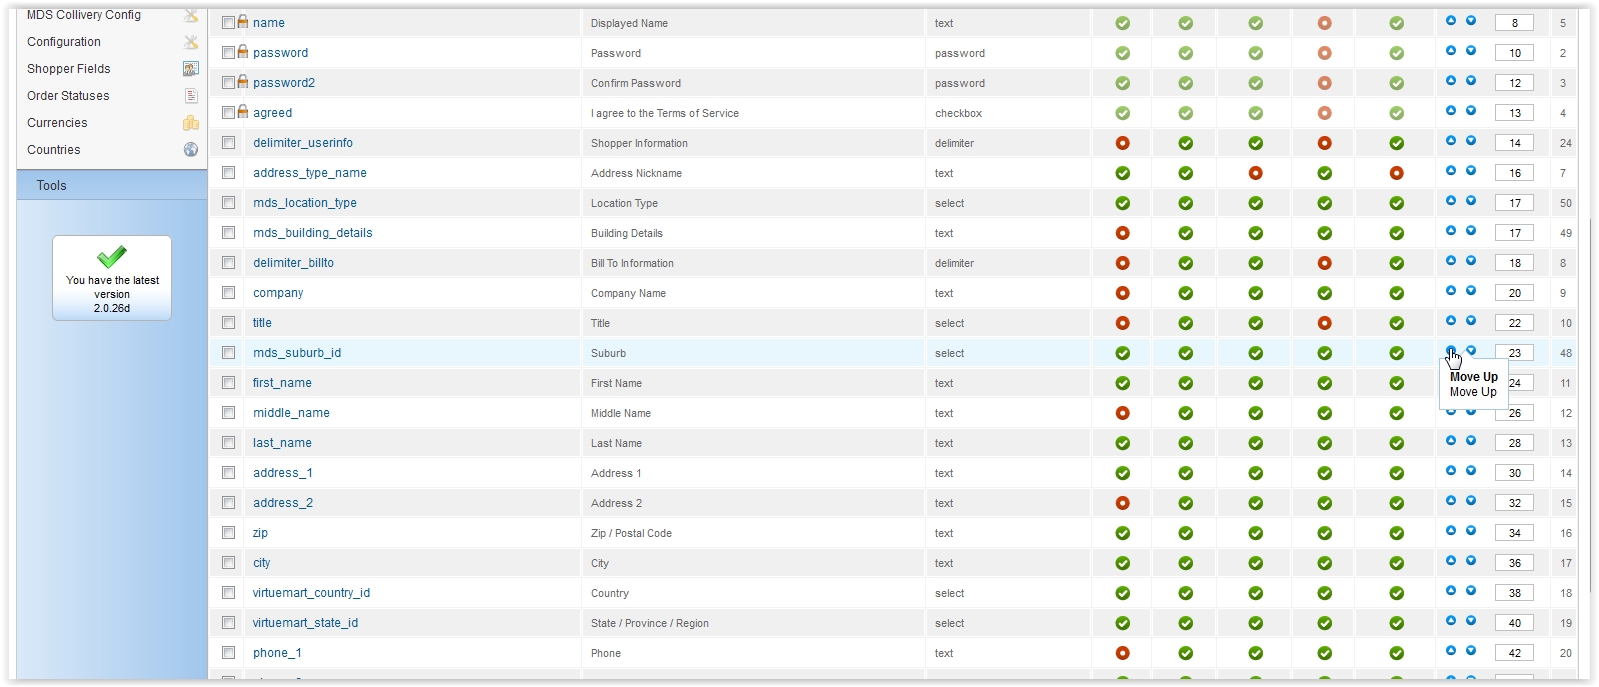
Since we have added some new fields you might have to disable some of your old fields, you can do this by viewing the checkout page where you enter your billing of shipping address and see what there could be disabled. Make sure none of the plugin fields are disabled. The fields stated above are required by the plugin.
Front End Usage (Client Side)
Front end only has one function that we need to go through. Tracking page: this page is where all your clients will be able to use for tracking of their delivery, client's will need to enter their Waybill Number and click Check Status.
Back End Usage (Admin Side)
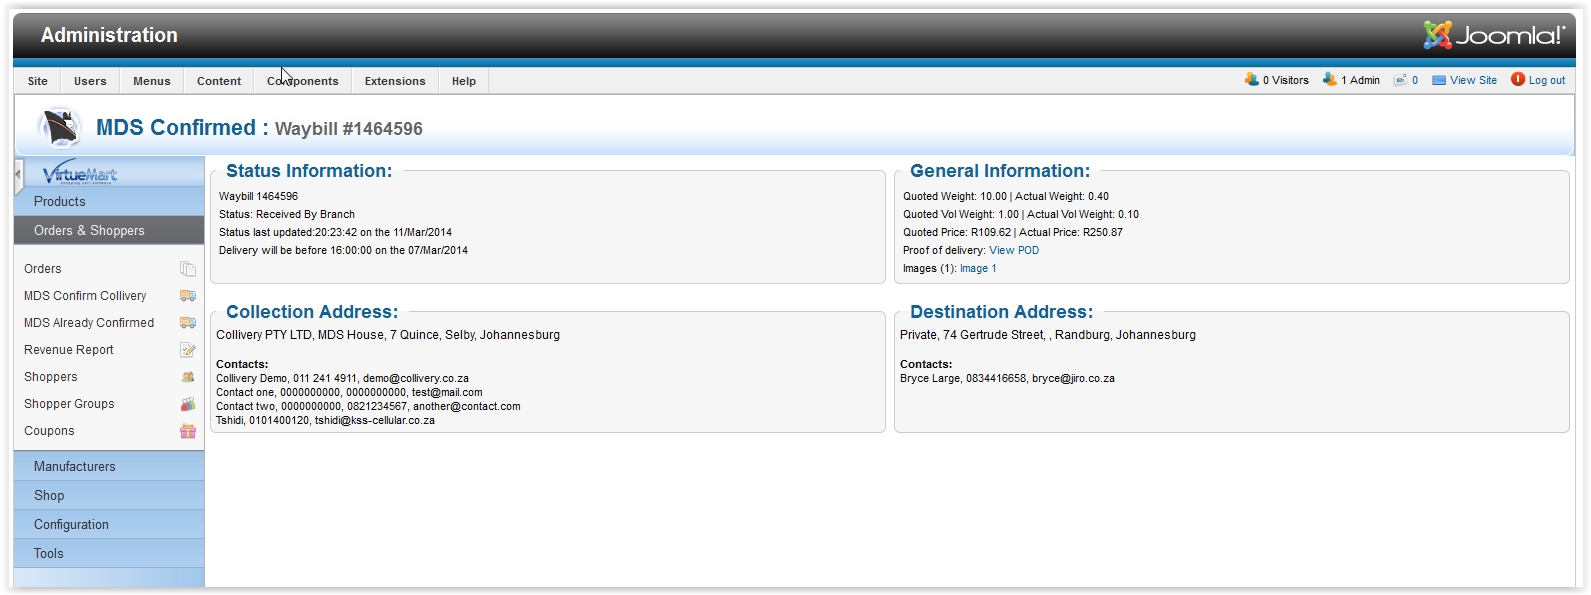
This section is the last and final part to the MDS Collivery plugin, in this section you the admin will be able to view orders that have not been confirmed as of yet and then either modify the delivery or accept the delivery. Once you have accepted the delivery it will be saved and you will have access to the delivery to track, view parcel images and view POD (proof of delivery).
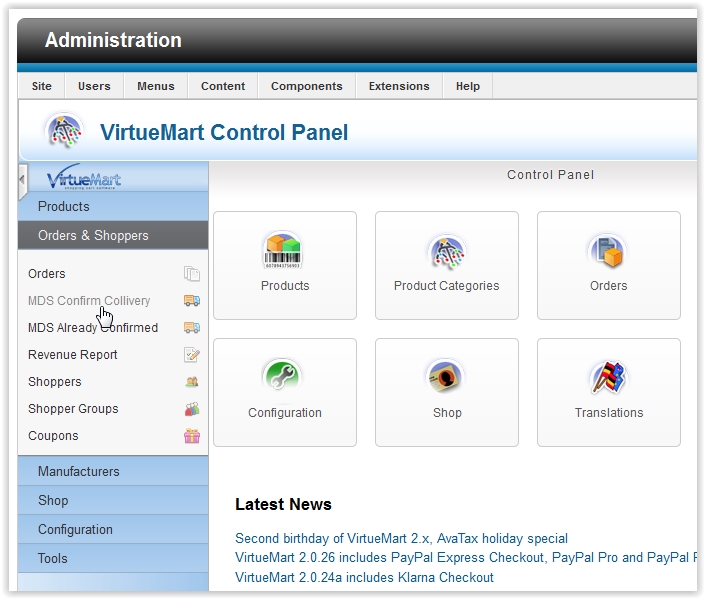
Once your client has checked out and confirmed their order you will be able to view the delivery request under Orders & Shoppers -> MDS Confirm Collivery in your Virtuemart section.
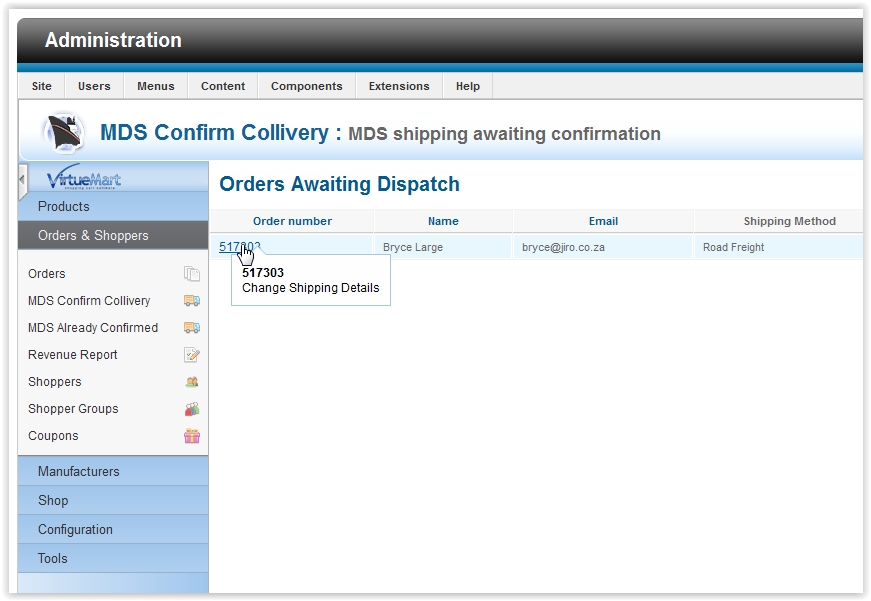
Here you will be able to change collection address and destination address as well as the delivery service. You can even include some written instructions for the driver and add additional parcels.
Which Collection Address: for both collection and destination just gives you the option of adding a new address to your lists of addresses in you MDS Collivery account or pick from the addresses already in that list. We have added some validation just to help make sure that the required information gets passed on to the API.
Once you have accepted the delivery the delivery will be sent to MDS Collivery and the order status will be changed to confirmed and you will be redirected to the order page in Virtuemart. There you can notify your client and gain access to the Waybill number needed to track the delivery.
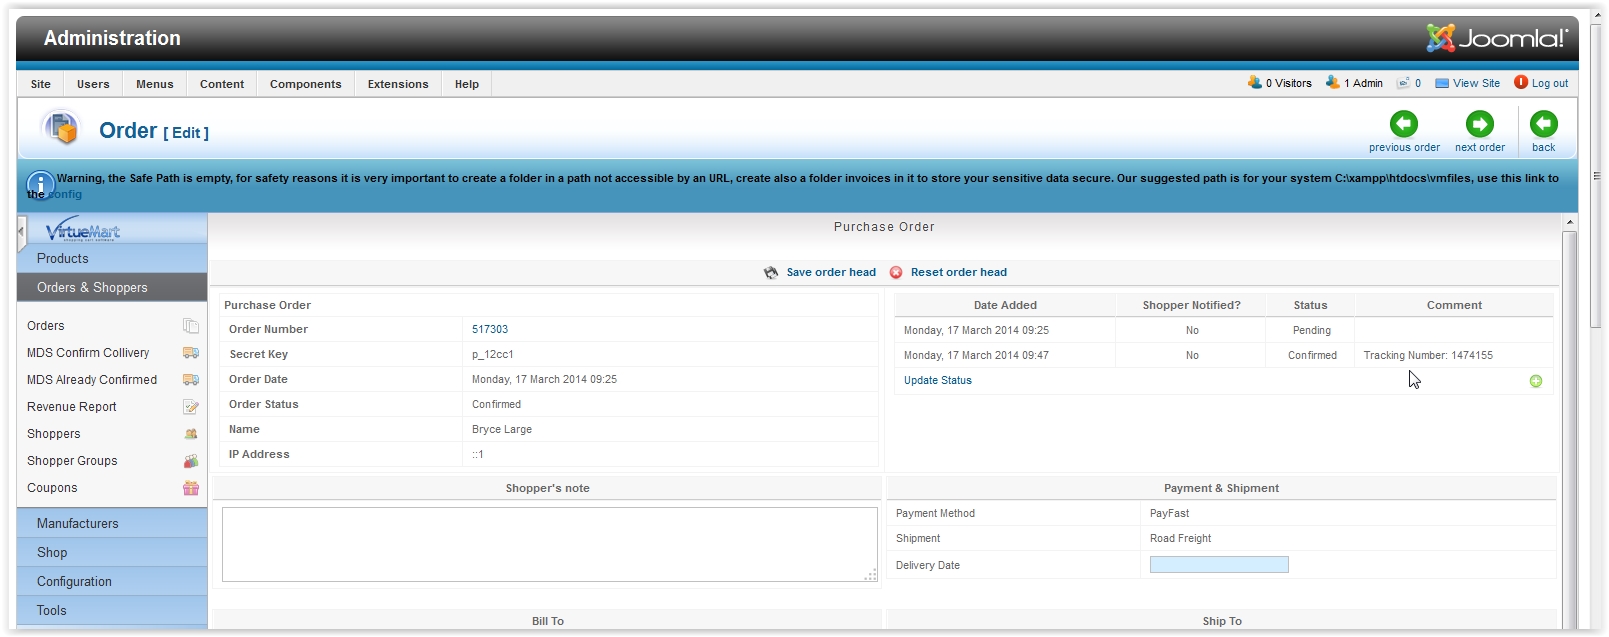
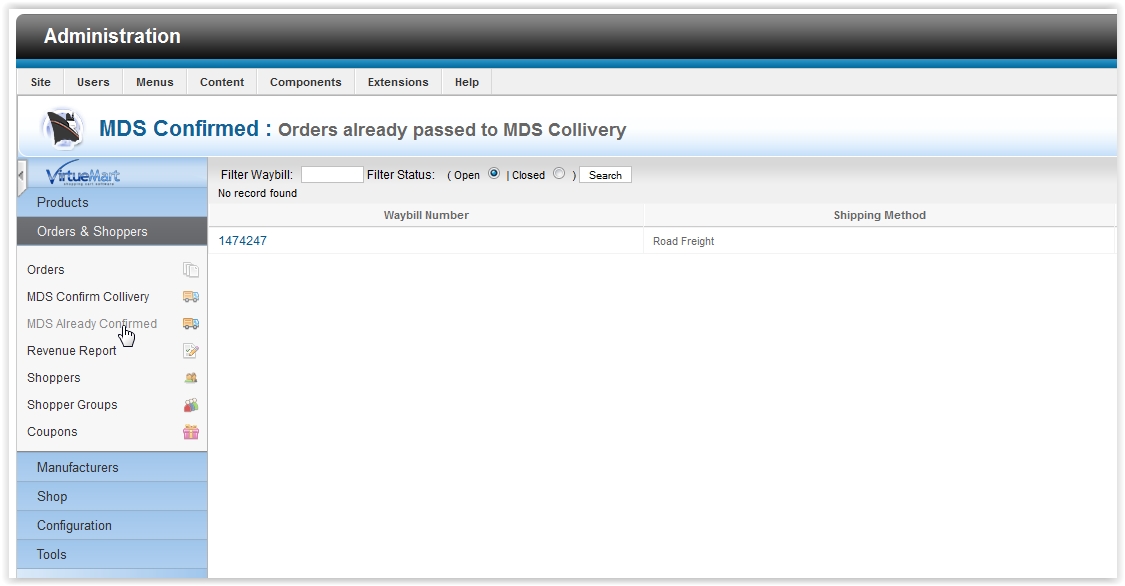
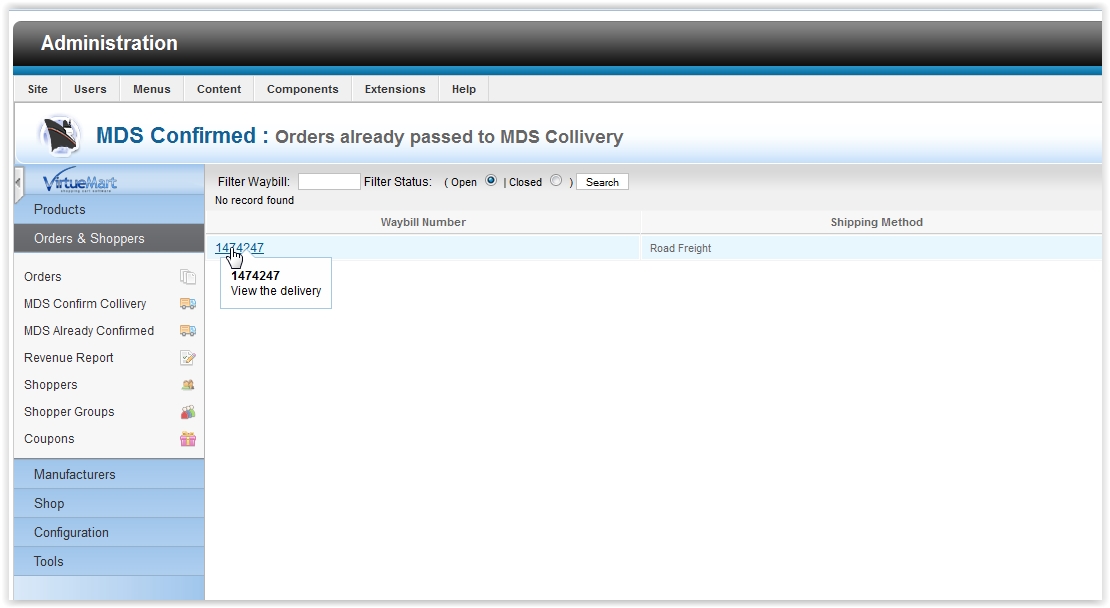
The delivery is now saved and you can gain access to it by clicking on MDS Already Confirmed in the same menu as MDS Confirm Collivery.